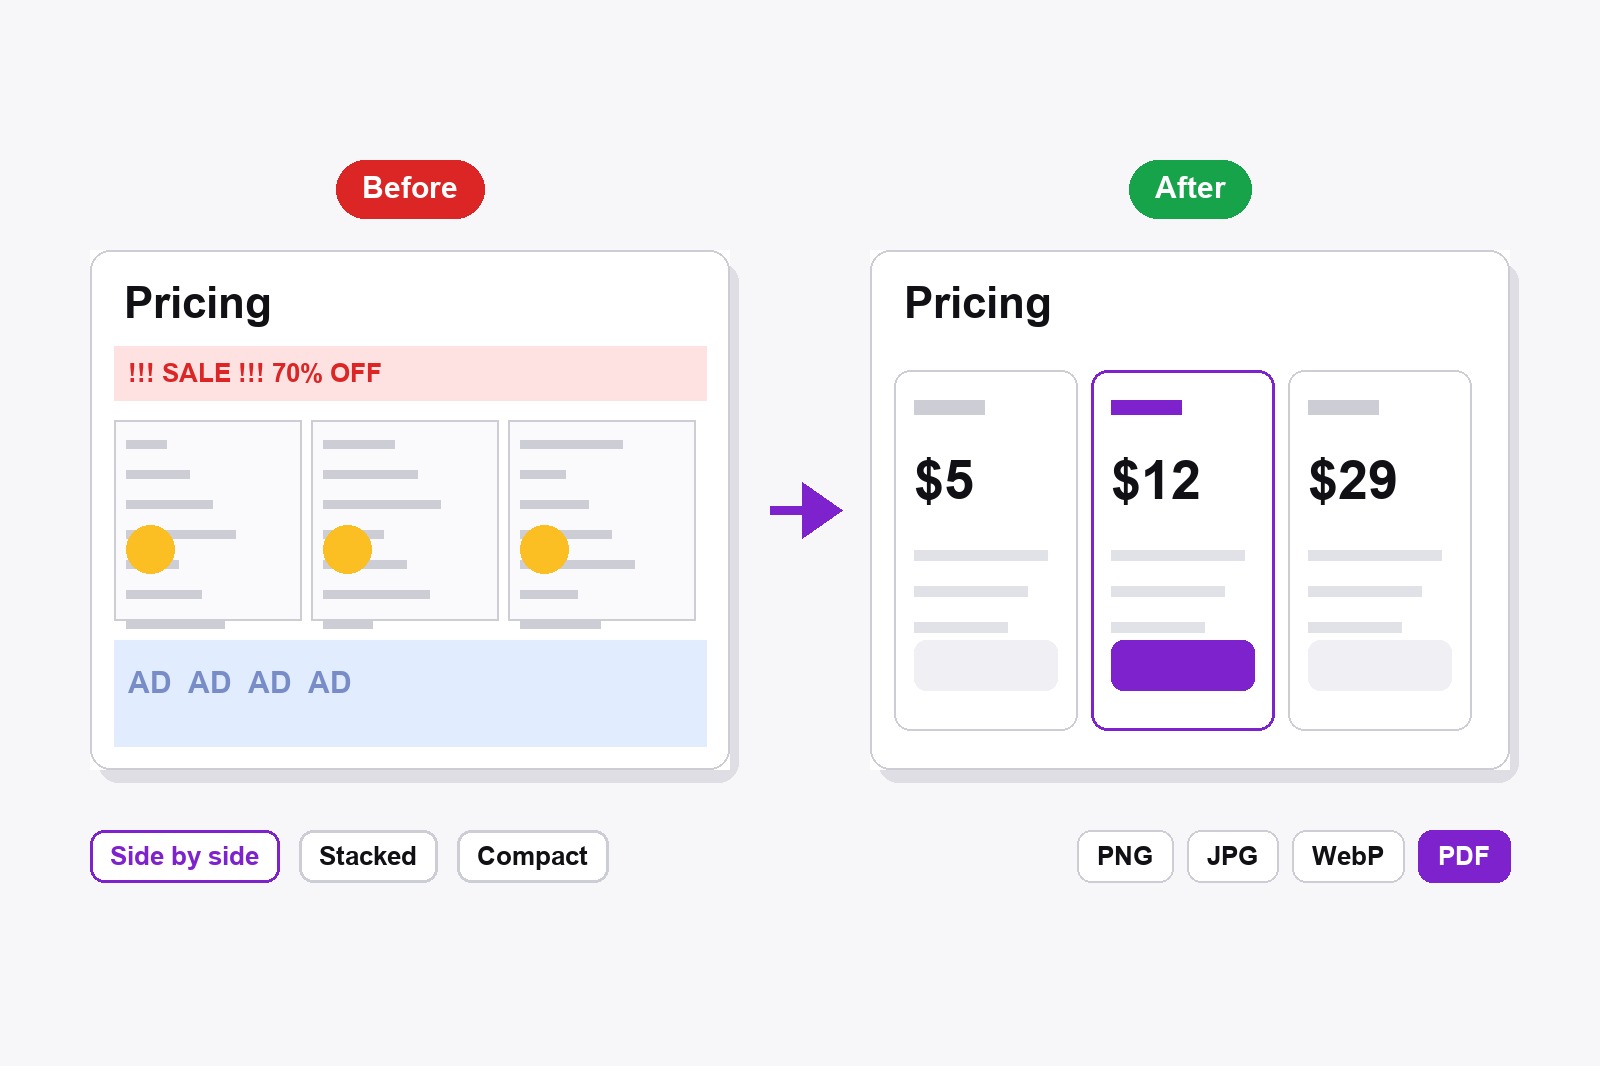
To make a before and after image, open the first picture in the free Scrollshot editor (capture it, or click Upload), click Before / After, choose Use the current image as “Before”, then edit the picture or click Upload After to bring in a second one. Press Done, pick Side by side, Stacked or Compact, and export it as PNG, JPG, WebP or PDF, or copy it. Images go in, a finished comparison comes out. Everything stays in your browser and nothing is uploaded.
Why one comparison picture beats two separate files
You fixed the layout, lost two kilos or finally painted the garden fence. Now you send two pictures, and your reader has to flip between them and guess what changed. A before and after image puts both in the same frame, so the difference is obvious in a second. It also fits in a chat message, a slide or a report as one picture, which is much harder to lose than two.
How to make a before and after image, step by step
- Install Scrollshot. Get it from the Chrome Web Store. It is free and needs no account.
- Open your first picture in the editor. Capture a page (full page, visible area, region or element), or click Upload and pick a photo or a screenshot from your computer.
- Click Before / After in the left panel of the editor.
- Decide what “Before” is. Choose Use the current image as “Before” to keep it as it is, or Edit the “Before” first if you want to change it a little before the comparison starts.
- Make the “After”. Edit the same picture (arrows, blur, text, a backdrop) or click Upload After ↑ and pick a second image. A small banner at the top shows which step you are on.
- Click Done ✓. The “Arrange your Before / After” window opens with a live preview.
- Pick the layout. Choose Side by side, Stacked or Compact, and switch the Labels and the Divider on or off.
- Export it. Click Copy to paste it straight into a chat, or save it as PNG, JPG, WebP or PDF. Save to History keeps it in your gallery, in the folder you choose.
Side by side, stacked or compact: which layout to pick
- Side by side. The two pictures sit next to each other at the same height. Best for wide pictures, web pages and photos.
- Stacked. One above the other at the same width. Best for tall pictures and phone screenshots, and for chats where a wide image gets squashed.
- Compact. Both pictures shrink and sit side by side on a 16:9 canvas. Handy for slides, video thumbnails and anywhere a wide frame fits best.
- Labels. The words BEFORE and AFTER are drawn on the pictures. Switch them off if you would rather use your own words.
- Divider. A thin line between the two pictures, solid or dashed.
A small tip: the two pictures do not need to be the same size. Scrollshot lines them up on a shared height (side by side) or width (stacked), so you can compare a small screenshot with a big photo without any resizing first.
PNG, JPG, WebP or PDF: which to export
PNG is the sharpest and the best choice for screenshots with text. JPG gives a smaller file and suits photos. WebP is the smallest of the three. PDF puts the comparison on a single page, handy to email, print or hand to a client, but it is a picture of the comparison, so the words inside it cannot be selected. Copy skips the file altogether and pastes the picture straight into a message or document.
Who makes before and after pictures
- Progress trackers, for fitness, a renovation or a garden that finally got finished.
- Web designers and developers, showing an old design next to the new one, or a bug next to its fix.
- Anyone retouching or editing, who wants to show the original and the result together.
- Teachers and guide writers, showing the wrong way next to the right way.
- Support teams, showing what a customer sees next to what they should see.
Combine it with the other tools: add arrows and numbered steps to the After so the change is impossible to miss, or blur the private parts of both pictures first.
Good to know before you start
- Only pictures go in, not PDF files. Upload takes image files such as PNG, JPG or WebP. PDF is an export option, not an import one.
- Two pictures per comparison. One Before and one After. For more, make several comparisons.
- The BEFORE and AFTER labels are in English. Switch Labels off if you want your own words, and add them with the Text tool.
- Crop presets and Save are locked while you are in the steps. They come back once you finish or cancel the Before / After.
- All of it is free. Before / After and every export format need no upgrade and no account.
- It cannot capture Chrome’s own pages or the Chrome Web Store. Try it on any normal website instead.
FAQ
Open the first picture in the Scrollshot editor, click Before / After, choose to use the current image as Before, then edit it or upload a second image as After. Click Done, pick a layout and export it as PNG, JPG, WebP or PDF.
Yes. Choose the Side by side layout and the two pictures sit next to each other at the same height. Stacked puts one above the other, and Compact fits both on a 16:9 canvas.
No. Upload takes image files such as PNG, JPG and WebP. You can export the finished comparison as a PDF, but a PDF cannot be loaded as a picture.
No. Scrollshot lines them up on a shared height or width, so a small screenshot and a big photo work together.
Yes. Switch Labels off in the arrange window. You can add your own words with the Text tool before you click Done.
Yes. Before / After and all the export formats are free, with no account.
No. Scrollshot works locally in your browser, so your pictures never leave your computer.

Scrollshot — Capture Exactly What You Need
Built by GetPlugzz. Local processing only: nothing uploaded, nothing tracked.