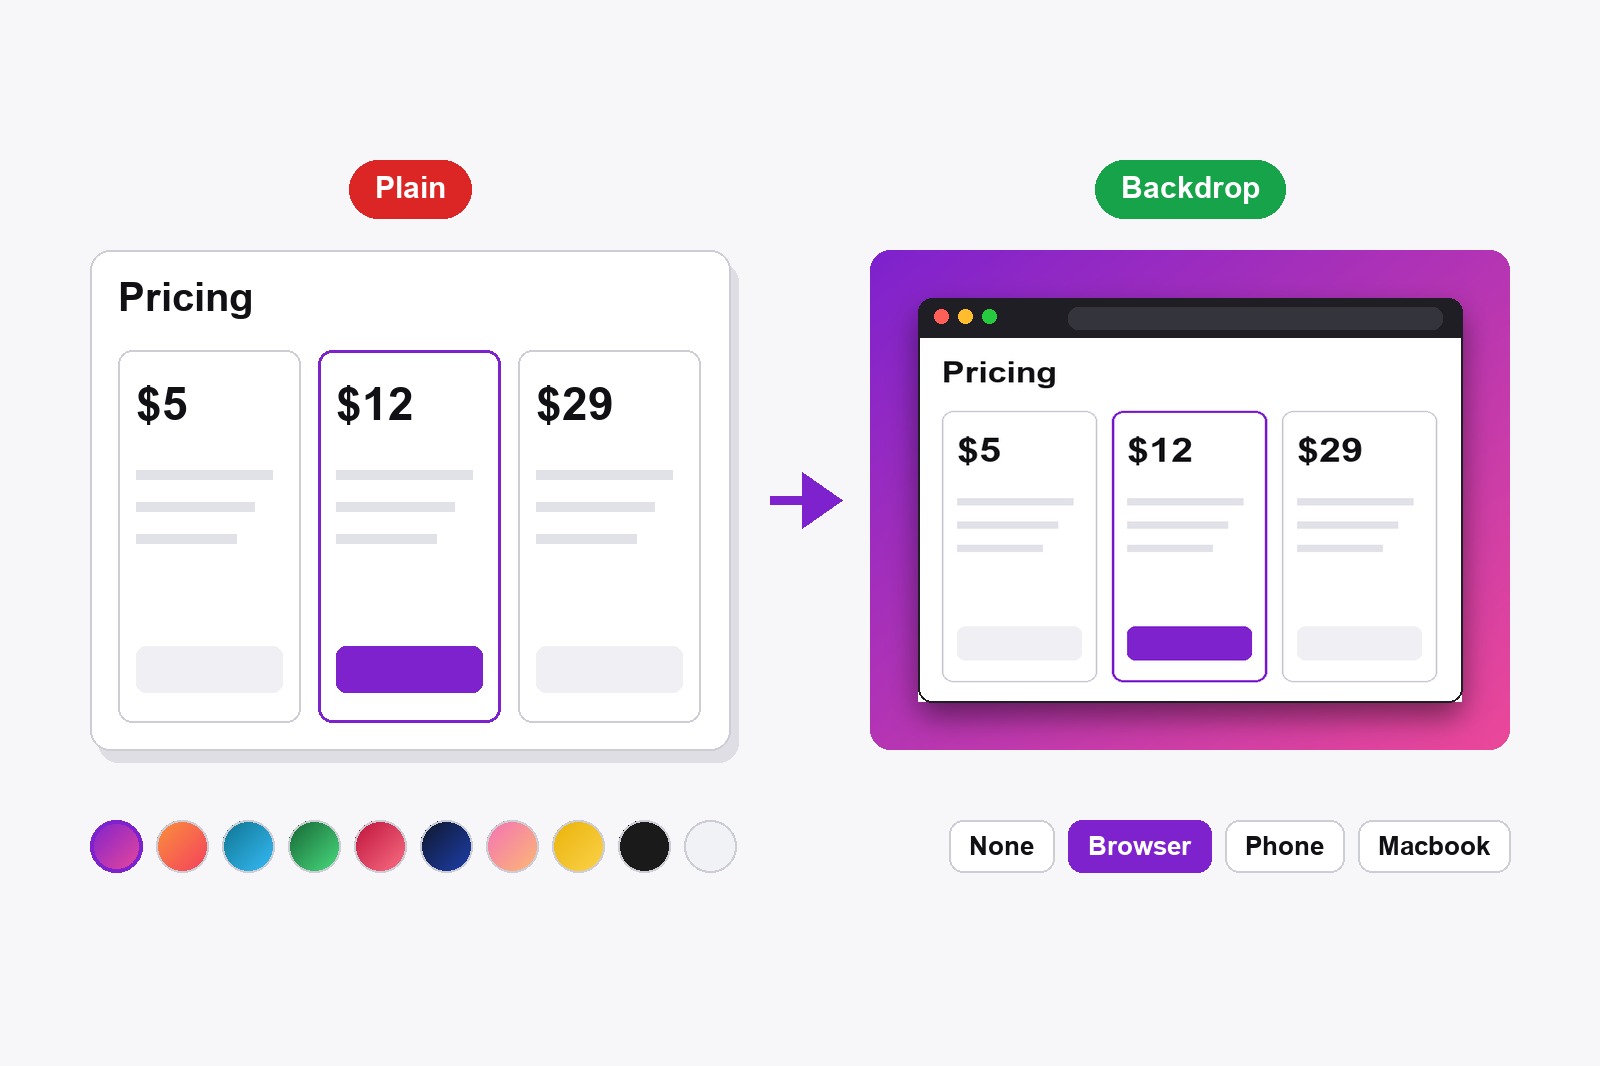
To make a screenshot look better, open it in the free Scrollshot editor, click Backdrop, pick a gradient background, choose a Browser, Phone or Macbook frame, and set the Padding and Shadow sliders until it feels right. Then download it or copy it. The screenshot itself stays untouched, the colour, frame and shadow are simply wrapped around it. Everything happens in your browser and nothing is uploaded.
Why a plain screenshot looks plain
A raw screenshot ends exactly where the page ends. Its edges blend into whatever you paste it onto, nothing tells the viewer whether it is a website, an app or a phone, and it has the visual weight of a sticky note. Put it on a colour, give it a frame that says this is a browser window, add a soft shadow so it lifts off the page, and the same picture suddenly looks designed. No design skills needed, the choices are a few clicks.
How to add a background, frame and shadow to a screenshot, step by step
- Install Scrollshot. Get it from the Chrome Web Store. It is free and needs no account.
- Open your picture in the editor. Capture a page (full page, visible area, region or element), or click Upload and open any image from your computer.
- Do your edits first. Arrows and numbers, blurring private details and cropping stay on the screenshot, and the backdrop is drawn around the result.
- Click Backdrop in the left panel. You will see a live preview as you choose.
- Pick a background. There are eight gradients (purple, peach sunset, ocean blue, green, cherry red, dark teal night, pink and golden), two solid colours (dark and light) and a round custom colour button for your own.
- Pick a frame. None keeps just the picture with softly rounded corners. Browser adds a dark title bar with three dots, Phone a phone body with a camera island, Macbook a laptop screen with a bezel and chin.
- Tune Padding and Shadow. Padding is the space between the picture and the edge of the colour (0 to 120). Shadow is how strongly the picture floats above it (0 to 100).
- Add a headline if you like. Pick the Text tool and click on the coloured background around the picture. It is a quick way to add a title.
- Save it. Click Download, or Copy to paste it straight into a post or a chat. Save to History keeps it in your gallery.
Which background and frame for which picture
- Colourful gradients (purple, sunset, ocean, rose, golden) look best on social posts, announcements and landing pages. Warm ones feel friendly, cool ones feel techy.
- Dark gradient or solid dark suits code, dashboards and dark user interfaces, because the picture does not fight the background.
- Solid light is the calm choice for documentation, help articles and anything that has to look professional and quiet.
- Custom colour lets you match your brand. Pick the exact colour from the round button and every screenshot you make fits your site.
- Browser frame is made for web pages, with the dark bar and the three dots that people instantly recognise.
- Phone frame belongs to tall, narrow mobile screenshots. A wide desktop page inside a phone looks wrong.
- Macbook frame works for apps, dashboards and landing pages that you want to show on a laptop screen.
A small tip: the default padding is 48. For a social post make it larger (80 or more) so the colour has room to breathe, and for documentation keep it small (10 to 24). A stronger shadow helps on light backgrounds, a weaker one on dark ones.
A quick recipe for common jobs
Blog post or help article: solid light or dark, small padding, a browser frame if it is a web page. Social post (X, LinkedIn): a bold gradient, generous padding, medium shadow, and a short headline on top. Landing page or product hero: Macbook frame for a dashboard, Phone frame for a mobile screen. Slides and demos: the dark gradient, because it reads well on a projector. Whatever you pick, keep one style across a set of images so they look like they belong together.
Who gives screenshots a makeover
- Bloggers and documentation writers who want clean, consistent images in every post.
- Makers and founders sharing a new feature on X, LinkedIn or Product Hunt.
- Designers and developers showing work in progress without opening a mockup tool.
- Tutorial and video creators making thumbnails and step images.
- Support teams whose how-to screenshots should be easy to spot in a long article.
Pair it with the other tools: add arrows and numbered steps first, or build a before and after image, where the After side includes your backdrop.
Good to know before you start
- Padding and Shadow need a background. With Background set to None, a frame on its own gets no padding and no shadow.
- The frame is added around your picture. It does not cover anything, so the finished file is a little bigger than the screenshot.
- With no frame, the corners are softly rounded. That is the default look when you only pick a background.
- Text can go on the background. Pick the Text tool and click on the colour around the picture.
- It is free. Backgrounds, frames, padding and shadow need no upgrade and no account.
- It cannot capture Chrome’s own pages or the Chrome Web Store. Try it on any normal website instead.
FAQ
Open the screenshot in the Scrollshot editor, click Backdrop in the left panel and pick one of the gradient or solid colours. The preview updates as you choose.
In the Backdrop panel, choose Browser, Phone or Macbook under Frame. The frame is drawn around your picture, and you can combine it with a background colour.
Yes. The round button at the end of the swatches opens a colour picker, so you can match your brand exactly.
They only work when a background is selected. Choose a gradient or a solid colour first, then use the sliders.
Set Background to None and Frame to None. Reset in the editor also takes the picture back to the original.
Yes. Pick the Text tool and click on the coloured area around the picture to write a headline.
Yes. All backgrounds, frames, padding and shadow are free, with no account.
No. Scrollshot works locally in your browser, so your screenshot never leaves your computer.

Scrollshot — Capture Exactly What You Need
Built by GetPlugzz. Local processing only: nothing uploaded, nothing tracked.